Today I have begun animating the introduction shots to the battery/cavern scene, and have recorded the first shot of this scene. it begins with a pan down, which will be used as a transition from the previous shot, to the three protagonists arriving at the cavern's entrance. The raw footage from this, recorded straight from the engine and unedited, is shown below. The shot uses a looped animation, which is why it appears to play multiple times.
The reason this was recorded with more then one loop is that the particle effect that generates the falling snow is randomly generated as to where and how it will fall, so having three different loops allows a choice to choose the best one to transition from the first scene. initially, the footage displays a grey screen saying "scene is missing a full screen camera", which means that no rendering camera is present. this is so that the animation is not looping before the particle effect has begin to generate, and the animation only plays when the 'e' key is pressed on the key board, using a small custom script I wrote in order to control the particles. While I was hoping to record the entire film in 60 frames per second, this seems to be an impossible feat with my current equipment, and the film will likely have to be recorded in 30 frames per second.
The custom script to activate the camera's recording
The first shot recorded of the short film
Wednesday, 21 October 2015
With the Box-bots having finished being textured, They needed a way for them to be identified separately. I tried many different ideas, but eventually settled on the idea of having them painted different colours, along with different eye colours. This is done in order to make them identifiable in both long shots and close up shots, especially if it shows only the eyes.
The base texture for the Box-bot. This provides the basis for all of the coloured bots.
The base Box-bot texture applied to the robot. As you can see, it appears colourless and bland.
The edited version of the basic texture to add a blue paintwork to some sections of the bodywork. This was done in Photoshop in order to allow me to create the different colours easier later.
The final product for the blue bot, who will be the main protagonist. note how his paint job only covers panels and crosses no faces - this is done because of the rust and scratches that exists there, making it unlikely that any paint would have survived.
The texture for the body of the orange bot. The paint job is identical, and only a hue change is used on the painted parts to keep the rust the correct colour.
The completed set of protagonists, each with different paint and eye colours. Their colours are chosen to be easily distinguishable from a distance, as well as to stand out from the background.
I have been modelling the different parts of the environmental scenes that need making, however, I have finally finished the cavern that will have the battery in it. Alongside this, the battery has been finished and has therefore been implemented into the scene. Here are some images of the different parts of the environment:
An overview of the environment. The grass does not span round the entire area as not all of it will be seen.
The entrance to the scene. The characters will enter through this arch.
Character's entrance on the left, entrance to the cavern on the left.
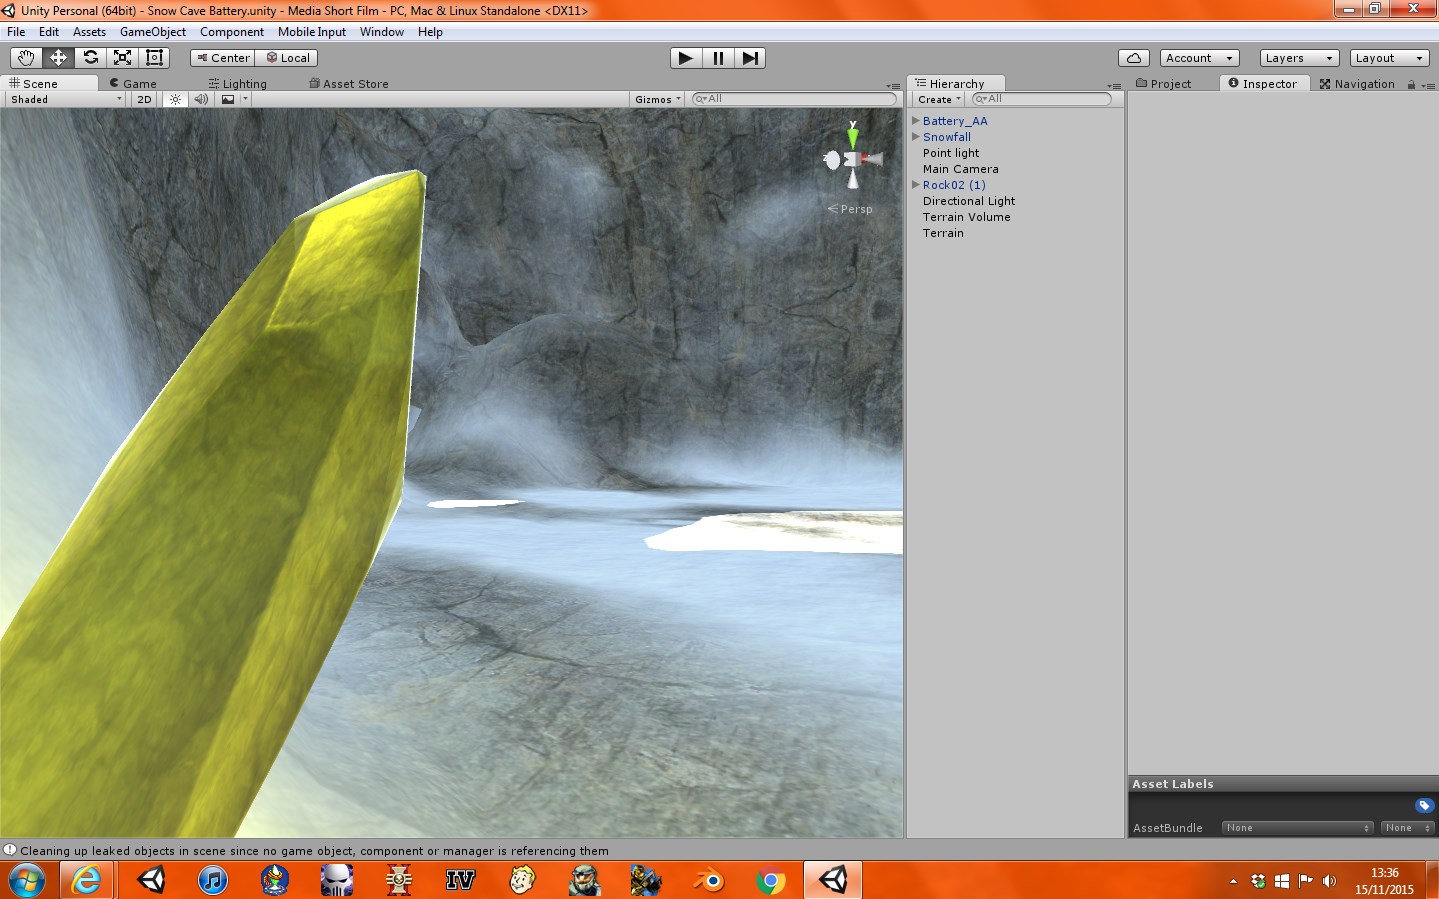
View from the inside of the cavern, facing outwards.
The inside of the cavern. The entrance to the small room with the battery is on the right, and one of the lighting crystals is on the left (the crystal is subject to change).
Another shot of the crystal. The crystal is slightly transparent, and the glow has been reduced (it will be brighter when a character approaches it).
The battery room of the cavern. the battery is lodged in snow, and the roof has a hole to allow light to shine on it as well as for the antagonist to escape out of.
Another angle of the battery. This better shows the hole in the roof.
The shots demonstrated here are good, but they are not good enough, as they look rather bland. Therefore, I would like to apply camera effects and changes to the world cameras that the short film will be recorded through. Here is a list of shots taken with in-game cameras:
Here are the same shots, but with camera effects applied. No external editing software (Photoshop, after effects, Sony Vegas etc.) was used for making these images, and were all done in engine. Alongside this, a snow particle effect has been added.
To demonstrate how this scene will actually look within the film, I have recorded a 1 minute clip of what the scene will look like with the snow particle effects on. The grass in the background also uses a wind renderer to make it seem as though it is blowing in the wind.
Due to the film's unique setting and animated style, I am granted a large amount of freedom with the scenery and sets that I am designing. As it is set on a minute scale, it allows me to explore some of the more vibrant parts of the world, as anything is possible with the 3D animation. so, whereas a live action film would be limited by budget, props, physics and other issues, I am able to move around them to create better looking and more visually appealing sets.
One of the biggest parts of creating 3D sets is the lighting - whereas in real life sets will illuminate naturally with sunlight and such, a 3D set starts out with no light at all. This, while it may seem problematic, allows for a wide variety of different lighting choices and effects to be used, such as the crystals that the protagonists find in the cave they enter. These will not only be used as decoration to split up the rock and add more variety to the scene, but can be used as an incredably flexible lighting source when combined with sunshafts coming through the roof.
As the sun shafts will provide a viable area light source, one which will be used to form a base light source for the cavern, the crystals can be used as additional ones. It is highly likely that these crystal lights will have to be baked onto the caven, as the rendering power to create 10+ point lights with real time shadows attached is a heavy undertaking on rendering. However, when they are baked, point lights with shadows can be overlaid to ensure that they only need to be rendered when they are near enough to the camera. Combined with the use of a depth of field camera effect to defocus the background, this should provide a realistic effect, or as realistic as I can achieve using my computer.
The crystals themselves will likely use a form of custom shader, or will be a heavily customised version of the standard 5.0 specular shader. This will have to allow an object to be transparent, have reflecting surfaces and and have shadows applied all at once. The use of the specular varient of the shader is to allow the crystal to have a shine to it, and as it is the 5.0 shader it will have a world-influenced glow around it, providing it with a realistic effect as though it is actually glowing. The illuminicity will also be raised to give it a glowing-style, which will hopefully reflect on the cavern itself, spreading the effect of the light.